Cocomocha Brownie Sundae

It’s Sunday.  Incidentally, I am also posting a recipe for a sundae.  Coincidence?  I should think so, since sundaes aren’t just for Sunday, they are for every day of the week!  Of course, if you must use Sunday as your excuse, by all means.  You can also use the fact that these sundaes are about as easy to make as sandwiches.  So would you like a sandwich or a sundae today?  What a dilemma!  I can promise when you have this decadence melting in your mouth, you will not be thinking about how much you wished you’d opted for a sandwich.  As a matter of fact, you will likely forget all other foods exist.

The inspiration for this sundae is the The Deathstar sundae that Becky and I adore from a local vegan spot, Spiral Diner

So what would a sundae be without ice cream?  Well, in this case, it would be just a brownie.  Good, but not the best.

Coco Cocoa Ice Cream (no ice cream maker required)

  • 1 can coconut milk (full fat)
  • 2 tablespoons cocoa powder (I used raw cocao powder)
  • 2-3 tablespoons agave nectar
  • 1 teaspoon almond extract or vanilla

Mix ingredients together and freeze. 

I suggest that you keep some of this ice cream in your freezer at all times.  I mean who really wants to wait for ice cream to freeze every time you feel like a decadent treat?  I sure don’t.

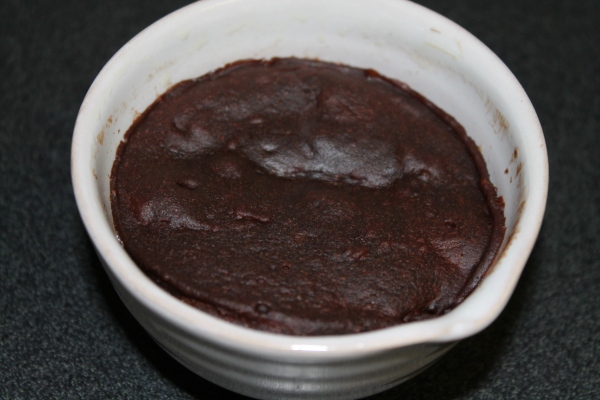
The next step is to make the brownie, of course.  This is my favorite part of the recipe because it takes less than 5 minutes to make and then it’s ready to eat!  Yep, it’s the truth.

Microwave Brownie in a Bowl

  • 2 tablespoons water
  • 1 tablespoon oil or butter (I like to use coconut oil)
  • 1/4 teaspoon almond extract (I prefer it, but you can also use vanilla)
  • 2-3 tablespoons agave nectar
  • 1 dash salt
  • 1/4 teaspoon baking powder
  • 2 tablespoons cocoa powder (I used raw cacao powder for this as well)
  • 1/4 cup white wheat flour

Mix together liquid ingredients then add dry ingredients. 

Mix well and pour batter into an oiled microwave-safe bowl or cup. 

Microwave for 1 to 1-1/2 minutes.

Now if you have decided to make this and don’t have the patience to wait for the ice cream, I completely understand.  I too was faced with a similar dilemma.  I cracked.

It was definitely delicious straight out of the bowl without the ice cream.

The second time I made it, the ice cream was ready, so I got to enjoy the entire package, which was even better. 

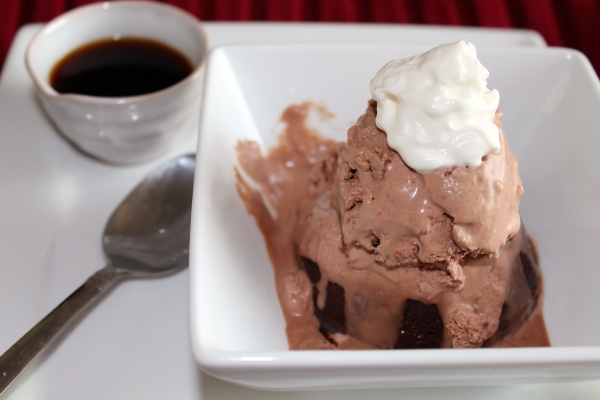
Cocomocha Sundae

  • Coco Cocoa Ice Cream
  • Microwave Brownie in a Bowl
  • 1/4 cup espresso or coffee
  • Whipped cream (coconut, preferred)  – optional

You’ll want to transfer the brownie from the bowl you microwaved it in to another serving dish.

Top the brownie with ice cream and whipped cream.

All that’s left is to pour that espresso on top and let your taste buds have at it! 

I had this sundae about three separate times in the past week.  You know, only because I wanted to perfect the process and all. 

Yeah, right.

~Elesha, a skinnyfat girl

Seitan Gyros with Whole Wheat Pita

For the past month or so, the hubby and I can’t seem to get enough Greek food into our systems.  I guess it all started when we had the most amazing hummus at a tiny Mediterranean restaurant near our home.  It’s all I can think about!  Fortunately, hummus is fairly easy to make and so is whole wheat pita, otherwise we’d be going broke right now! 

Since Becky already posted the World Creamiest Hummus, I won’t be giving you another hummus recipe, though I will mention that I like adding Greek yogurt to the aforementioned.  However, I don’t want to just give you the pita recipe and be done with it (even though the pita is definitely delicious enough to eat on its own).  Therefore, I’ve decided to make seiten gyros! 

I’m not going to give you a specific seitan recipe as they all tend to follow the same basics.  Feel free to use your favorite recipe or Becky’s version.  The main differences between recipes are how you season them and you should feel free to do this however you like.  Once you’ve cooked or boiled the seitan, cut it into thin strips, as thin as humanly possible.  I would have tried using a cheese peeler, if only I had one.  You can crisp them on a frying pan with some olive oil, if you so desire.  Here is what mine looked like when I was done.

The whole wheat pita could not be simpler.

Whole Wheat Pita

Preheat oven to 500 F

  • 4 cups whole white wheat flour (or whole wheat pastry)
  • 1 tablespoon yeast
  • 1 teaspoon salt
  • 1-1/4 cup warm water

Sift 2 cups of the flour and the yeast into a mixing bowl.  Stir the warm water and salt into the flour gradually.  Once water and flour have mixed add the final cups of flour.  Knead the dough until flour has mixed in completely.

Form dough into small balls and roll flat with a rolling-pin.

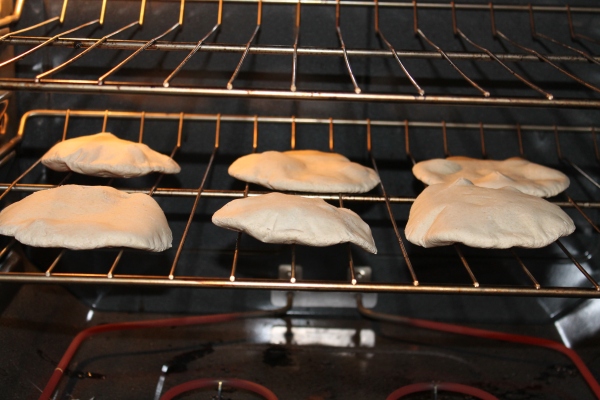
Place the pitas straight onto your oven grill and let bake until they puff up. 

It only takes a short amount of time for the puffing to occur (less than 2 minutes), so turn your oven light on and watch it. 

Once the pitas have puffed up, take them out of the oven and let cool.

While you’re waiting, you can whip up some delicious garlic cream sauce.

Garlic Cream Sauce

  • 1/2 can full fat coconut cream (it’s best if you use a can that you can’t hear the liquid in it when you shake it.  That means it’s creamed up and ready to go)
  • 2-3 roasted garlic cloves
  • 1/4 teaspoon guar gum (if not thick enough)

Blend ingredients in your blender or food processor.  I will warn you, if you use your food processor, be sure to cover up the hole on top, otherwise you will have a mess on your hands. 

Once the pitas have cooled down, cut in half and expand the pocket if  not completely hollow.  Stuff the pitas with seitan and top with your garlic cream or hummus. 

Yum!

~Elesha, a skinnyfat girl

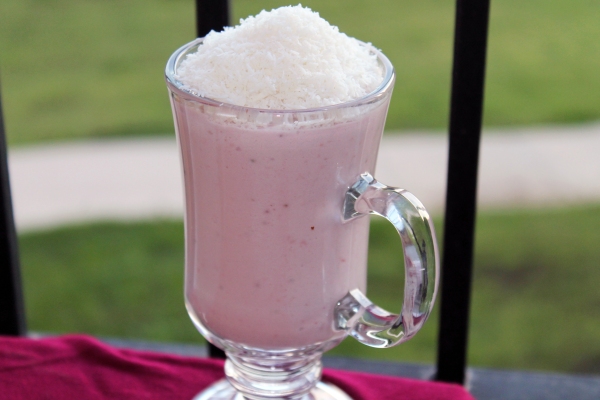
Amaretto Strawberry Pudding

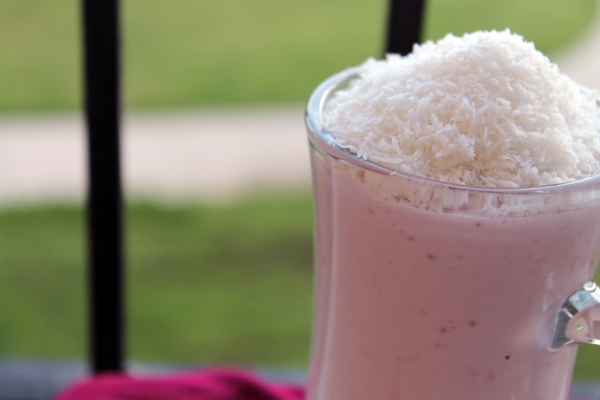
Make that Amaretto Strawberry Coconut Pudding.

Don’t you love simple and fast recipes?  These days, where it seems like I need to schedule time to breathe, they are precisely what I need.  This recipe is simple, fast, healthy, and delicious.

What you need:

  • 1 can full fat coconut milk (I suggest you buy a few cans, put them in the fridge unopened, and forget about them for while.  When you decide to use them, the liquid will be separated from the cream.  All you have to do is drain and you are left with the thick, rich, drool-worthy coconut cream)
  • 1 package firm silken tofu (I use organic Mori-Nu)
  • 1/4 cup agave nectar
  • Strawberries (you decide the amount, I used about a cup)
  • 1/2 teaspoon salt
  • 1/4 teaspoon almond extract
  • 1/2 teaspoon guar gum
  • Shredded coconut (I don’t consider this optional, but it’s to put on top so you decide)
  • Food processor

Step 1:  Blend all the ingredients in your food processor.

Step 2: Put in a pretty glass.

Step 4: Top with coconut.

Step 3: Take pretty pictures.

Step 4: Put it all away.

Step 5: Oh, who am I kidding?  EAT IT!

On another note, I have to say a special thank you to my dearest and darling-est (it’s a word now) friend, Becky, for keeping Skinnyfat Girls alive while I have been MIA.  I especially love her post for Skinnyfat’s birthday, as she summarizes perfectly our health journey this past year. 

Have a happy week!

~Elesha, a skinnyfat girl

Mason Jar Salads

First off, because I feel it needs addressing, I have obviously failed at my new year’s resolution to post on Skinnyfat every week.  I would like to defend myself by mentioning that February is the holiday season all over for me.  First it’s hubby’s birthday, then mine the week right after.  Of course, Valentine’s Day is hardly observed at all by the time we’ve gone through birthday mode, but add that to mix even a little bit and it still makes for a very busy time.

So in penance for my absence, I knew I had to post something absolutely brilliant so I’m posting about salad.

SALAD?!?!?!?!?!?!?

Yes, salad.  Want to pump your body up with raw veggie power?  Salad is one of the great ways to go.  Add a mason jar to the mix and we’re really onto something.

Now I know you may be confused at this point, so let me clear it up for you.  If you add a mason jar to the mix your salad will stay fresh for MORE THAN A WEEK!

All I have to do now is make 5 mason jar salads on Sunday and I have lunch for the entire work week!  My mason jars have claimed their very own corner of the fridge at work.

I can’t take credit for this genius – I heard it from a friend who heard it from Skinny Girl Trapped in a Fat Girl Body.

Of course, there are probably thousands of ways you can make this salad, but I will share with you what I did.

Mason Jar Salads

  • 5 mason jars
  • 1 head lettuce
  • 1/2 head kale
  • 1/2 head collard greens
  • Grape tomatoes
  • Olives
  • Black beans
  • Parmesan cheese

Salad Dressing 1

  • 4 tablespoons olive oil
  • 1/4 teaspoon of the juice leftover from the canned olives
  • 1 clove of garlic smashed
  • Dash of dried red pepper flakes
  • A pinch of salt

Salad Dressing 2

  • 4 tablespoons olive oil
  • 1 teaspoon red wine
  • Juice from a quarter wedge of orange
  • A pinch of salt

First step is the measure out your dressing into your mason jars.  I don’t usually use a lot of dressing, so the portions I made were enough for all of my salads.  Do what’s best for you.

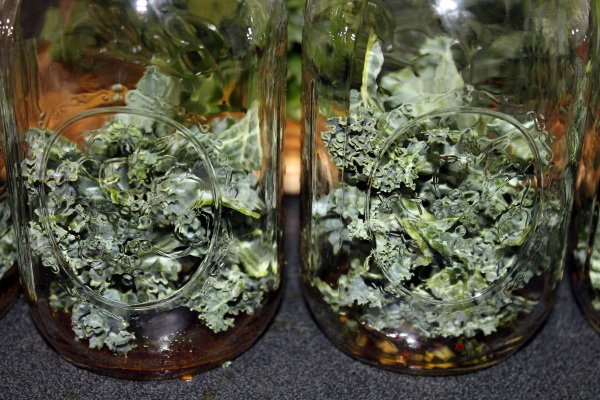
Because I’m not very good at following directions when it comes to recipes, I didn’t follow the advice about not letting the dressing touch the leaves.  I put the dressing and then the kale right on top of it.  They stayed fresh!

After the kale layer, I added the collard greens and lettuce, then topped it off with the black beans, olives, grape tomatoes, and parmesan cheese.

Keep the salads upright in the fridge and when you are ready to dive in, shake it all up and pour it into your bowl.  I like to add avocado after that.  More fiber = good.  More avocado = delicious.

Some thoughts and tips:  If you used olive oil, sometimes the refrigeration causes it to solidify a bit.  All you should do if this happens is let it set out a bit and it will liquify again.  Also be forewarned that sometimes the smell is pretty strong when you open the mason jar up for the first time.  Don’t worry, it’s still good to eat.  I’ve checked.

Save time and eat healthy thanks to these babies!

Until next time.

Elesha, a skinnyfat girl

3-Ingredient Tofu Burgers & Whole Wheat Burger Buns

What are your plans for the Super Bowl?  Any?  My guess is that Becky will be cooking up a storm to prepare for watching her Patriots play.  While my team didn’t make it this year, the Super Bowl is still an excellent excuse for good food.

Who am I kidding?  Anything is a good excuse for good food!

Whole Wheat Hamburger Buns

adapted from this recipe

  • 4 cups whole wheat flour
  • 2 tablespoons gluten flour
  • 2 tablespoons ground flax-seeds
  • 1 1/2 teaspoons active dry yeast
  • 1/2 teaspoon baking soda
  • 1 1/2 teaspoons salt
  • 1 1/2 cups warm water
  • 2 tablespoons raw sugar or honey
  • 3 tablespoons coconut oil

Mix the sugar, 1/2 cup warm water, and the yeast in a mixing bowl and set aside for about 10 minutes until the mixture starts to froth.

Mix all dry ingredients together with the yeast mixture. Gradually add in the remaining 1 cup of water and add the oil. Knead for about 3 minutes.

Cover an oiled bowl with a warm, damp kitchen towel and set aside for 2 hours until the dough has risen.

Punch down the dough and form into about 6 burger buns.

Place the buns on an oiled kitchen sheet, at least a couple of inches apart, and let the buns rise for an hour.

Preheat the oven to 375 degrees. Place the buns in the oven and bake for about 15-20 minutes.

Now it’s time to make the tofu burgers!

3-Ingredient Tofu Burgers

  • 1 package extra firm tofu (14 oz.)
  • 1 cup gluten flour
  • Bragg Liquid Aminos (you can use soy sauce or teriyaki sauce, but remember that those both contain a lot of sodium, so use sparingly)

Okay, so these three ingredients aren’t necessarily the easiest products to come by, except for maybe the tofu, but they are definitely worth having on your shelf.  You should definitely be able to find these items at your local health food store and, if you really like these ingredients, you can buy them in bulk from Amazon.

Preheat your oven to 375.

Using a fork, smash the tofu into crumbles.

Cover the tofu in liquid aminos until saturated.  You may want to taste test  the mixture to make sure it’s the right amount of salty.

Add in your cup of gluten flour and mix together.

Form the mixture into burgers and place on an oiled baking sheet.

Bake for about 5-10 minutes, then flip the burgers and bake for another 5-10 minutes.  Make sure the ingredients have bound together before flipping the burgers.

The burgers will be a pretty golden color when they are done.

Serve on your whole wheat buns with the condiments of your choice.

Enjoy your Super Bowl Sunday!  Go Chiefs!

Oh, wait…

~Elesha, a skinnyfat girl

Un-Red Velvet Cake

If you take a moment to peruse our Recipes page, I think you’ll quickly figure out what our favorite type of food to make is.  Yep, you guessed it, dessert.  Now, when I arranged our recipe page and discovered this, I thought I would try to focus more on the other categories of food to make it more even.  Well, symmetry is just going to have to wait, because I have been trying to make this recipe for what seems like forever.  I’ve attempted red velvet pancakes, red velvet brownies, and red velvet cake, but have not succeeded.

So why have I been trying so hard to succeed in making a Skinnyfat version of this Southern delicacy?  Well, let’s just say that I have a special spot in my heart for this cake.

Yes, I had red velvet cake for my wedding.  It was the most delicious, moist, melt-in-your mouth slice of heaven I have ever had.  Maybe part of it was the how special the day was, but my memory of that cake has been difficult to get out of my head.

I have finally succumbed to the idea that I may never achieve the brilliant red color naturally, ergo I give you  my very own un-red velvet cake.

The best part of this cake is that it has no artificial coloring or white flour and it has beets in it!  Have your dessert and prevent cancer too.  How much better can it get?

Un-Red Velvet Cake

  • 2.5 cups whole wheat pastry flour, sifted
  • 1 teaspoon baking powder
  • 1 teaspoon baking soda
  • 1 teaspoon salt
  • 2 tablespoons cocoa powder
  • 1 heaping cup fresh beets, peeled and chopped (about 2 small beets or 1 large beet)
  • 1 cup raw sugar (or healthier sugar alternative)
  • 1 cup coconut cream (canned coconut milk with guar gum)
  • 2 organic eggs (or 2 flax eggs)
  • 1/4 cup butter (or vegan alternative)
  • 2 teaspoons vanilla
  • 1 tablespoon vinegar (use whatever cooking vinegar you have, I used pomegranate vinegar)

Preheat your oven to 350.  Sift your flour and mix your dry ingredients, except for the sugar, together.

Peel and chop the fresh beets.

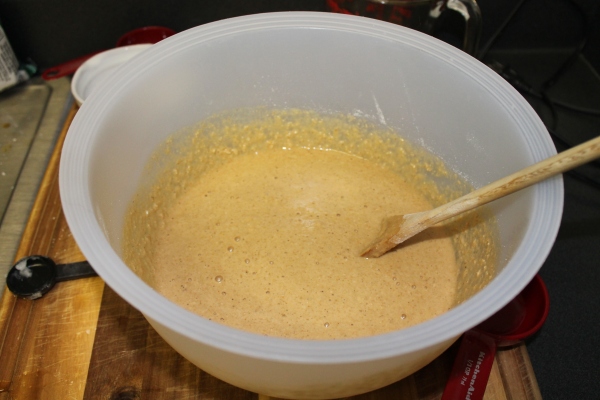
Then blend the beets, sugar, and the rest of the wet ingredients until smooth.

Gradually add the liquid ingredients to the dry ones, stirring constantly.

Take a picture, because this will be the last time the mixture will be such a pretty color.

Pour batter into an oiled cake pan and bake for 30-40 minutes until you can insert a knife and it comes out clean.

Once you remove it from the oven, be sure to let it cool completely before taking it out of the cake pan.  I wasn’t that patient and it fell apart a little bit.

Even though this cake is obviously not red, it is a velvety, delicious, treat.  You can top it with this cheesecake batter for added perfection.

~Elesha, a skinnyfat girl
Spicy Chipotle Vegetable Soup

This will officially be my first soup recipe to post to Skinnyfat.  Why it’s taken me so long to get to it, I have no clue.  Soup is the most popular supper item at my house.  My husband absolutely loves it when I make soup.  This soup recipe he has officially declared “the bomb.com”.   I find him cute sometimes. 

Spicy Chipotle Vegetable Soup

  • 4 cups (or 1 – 32 oz. carton) vegetable stock
  • 2 cups assorted fresh vegetables, chopped
  • 2 teaspoons salt
  • 1-2 teaspoons chipotle pepper
  • 2 bay leaves
  • Dash of garlic powder
  • 1 – 5 oz. can organic chicken breast (optional)

The vegetables you choose to use are entirely your choice.  I like to mix it up. 

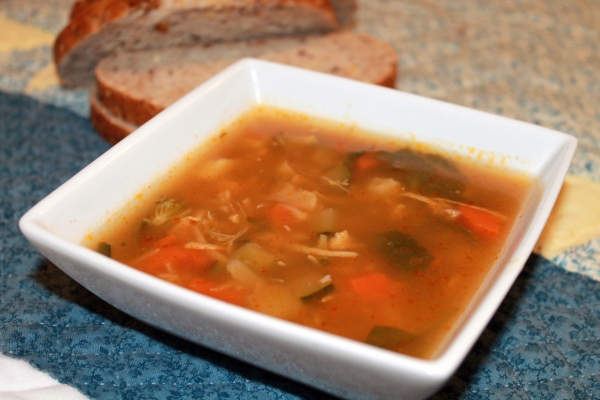
This round I used cauliflower, broccoli, carrots, spinach red potatoes, and zucchini, always zucchini.

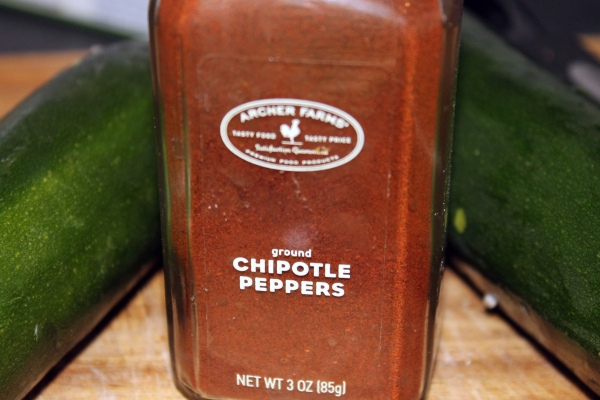
And have I ever expressed to you my undying love for chipotle? 

If you have homemade vegetable stock, please go for it.  Made from scratch will always beat the stuff from the store.  If you are not feeling quite ambitious enough for that, that’s okay.  I used Swanson’s organic vegetable broth and the soup still turned out delish!

Combine all your ingredients and bring to a boil over medium heat and cook until vegetables are soft, stirring often.

Now it’s time to enjoy!  The husband and I like to have our soup with grilled cheese sandwiches on hearty whole grain bread with Gouda cheese. Yum!

Be sure to check out our new recipe makeover page to help us decide what recipes to make next.  We love to hear from you so leave us a comment or two!

Happy weekend all!

~Elesha, a skinnyfat girl

Coconut Chai Cupcakes

I love chai.  I love cupcakes.  I love coconut.

Sometimes I just have to combine things I love (i.e. cheesecake and hot chocolate, spinach and mint chocolate chip) and sometimes you just have to trust me on it. 

Coconut Chai Cupcakes

  • 1 cup whole wheat pastry flour
  • 1 cup oat flour (just blend rolled oats into powder – easy peasy!)
  • 1/2 cup shredded coconut, unsweetened
  • 1 tablespoon baking powder
  • 1 teaspoon baking soda
  • 1/2 teaspoon salt
  • 1/2 teaspoon cinnamon
  • 1 cup concentrated chai tea (1 cup hot water, 4 tea bags)
  • 3/4 cup agave nectar
  • 1 teaspoons vanilla
  • 1 tablespoon coconut oil

Preheat your oven to 350 and then mix all of your dry ingredients together. 

You will, of course, need to have chai.

Steep your four chai tea bags in hot water for about 2-3 minutes.

It should be a nice dark brown when it’s done.

Now you can add the chai and the rest of your liquid ingredients into your dry mixture.

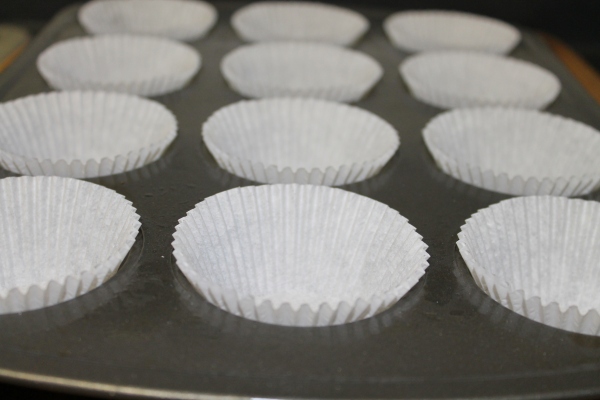
Line your muffin tin with liners and pour your batter.  I like to put my batter into my liquid measuring cup so it’s easier to pour.

Place your cupcakes in the oven and bake for about 10 minutes or until almost cooked through.  Then you can remove, brush with agave nectar or maples syrup, and top with more shredded coconut, then bake for about 5 more minutes.

Sprinkle the tops with cinnamon and enjoy!

~Elesha, a skinnyfat girl

Christmas Traditions and Fresh Spinach Dip

I don’t know about all of you, but this skinnyfat girl has been BUSY!  Holiday parties, Christmas cooking, buying presents, et cetera, et cetera…

How was your holiday?  Mine was absolutely wonderful. 

On the 24th, my hubby, sister, and I headed for Oklahoma where my mom, dad, and little brother live.  When we got there we watched It’s a Wonderful Life, as we do every year on Christmas Eve.  There is always the inevitable moment about halfway through the movie where my mom will get annoyed at all of us for quoting lines and getting into philosophical debates over certain scenes.  It doesn’t matter how many times I’ve seen it, I am always beaming by the end of it.

After the movie, my siblings and I raided the fridge, well tried to anyway, it was pretty much filled with food for Christmas dinner.  This wouldn’t have been a problem if my mom hadn’t been watching us like a hawk.  We just had toast and then headed to bed.

In the morning, we had our traditional Christmas breakfast – each of our favorite sugary cereals.  It’s Fruit Loops for my sister, Reeses Puffs for my brother, the hubby has Frosted Flakes, and I have Lucky Charms.  My dad has Life cereal and then a bowl of Lucky Charms.  My mom rarely indulges, but she usually has granola or something similar.  I am responsible for this not-so-healthy tradition as I was the one who, at the tender age of about 4 or 5, convinced my mom to buy “special” cereal once a year for Christmas. 

And, of course, after breakfast there are presents.  I didn’t start this tradition, but I thoroughly approve of it.

I also approve of another tradition; one that I am implementing now.  Fresh spinach dip for Christmas, New Year’s, and mealtimes.

Fresh Spinach Dip

  • 2 cups greek yogurt
  • 8 oz. package neufchatel cheese (or vegan cream cheese)
  • 2 cups fresh spinach, chopped
  • 8 oz. can water chestnuts, drained and chopped
  • 1 bell pepper, chopped (you choose the color, I used red)
  • 2 teaspoons garlic powder
  • 2 teaspoons salt
  • 1/4 teaspoon paprika

First combine the greek yogurt and neufchatel cheese together.  You will need to either mix it with a hand mixer or blend it in your food processor or blender.  It will not work to just mix it using a wooden spoon.  Trust me, I tried.  It may have worked if the neufchatel cheese was softened (note to self for next time).

Then chop your various ingredients.

Bell pepper…

Fresh spinach (chop off stems and discard)…

Water chestnuts…

If you do not have water chestnuts…

Go to the store and buy some right now.  This is the ingredient that makes this spinach dip so special.  Just trust me on this.

Now add your garlic powder, paprika, salt and that’s it!

Now it’s time to eat!  You can serve the dip in a bowl with crackers or you can get fancy and make a bread bowl like I did.

Happy (almost) New Year, everyone!  I wish you all the wonderful and happy things that life can bring, including spinach dip.

~Elesha, a skinnyfat girl (New Year’s resolutions: eat lots of spinach dip, post to SkinnyfatGirls once a week)

Cheesecake Hot Chocolate

The predicted temperature today was 80 degrees; it hasn’t reached 60 all day long.  This feels pretty cold when you live in Texas and just experienced a record-breaking scorcher of a summer.  I am absolutely ready for winter; I can’t seem to stop shopping for boots, coats, and sweaters.  One of the greatest things (I said one of the greatest things; there are many more I can think of) about cold weather is curling up in a cozy blanket with a good book and preferably with a steaming cup of hot chocolate, make that cheesecake hot chocolate.

The first thing you will need to do is make your cheesecake mixture.  Now it may seem silly to make an entire cheesecake batter just to make hot chocolate, but trust me, it will not go to waste.  This batter is great for making fruit parfaits and for eating entire spoonfuls right out of the bowl.  This batter is also destined to be featured in future cheesecake recipes and also in an upcoming post for cream puffs. 

Cheesecake Batter

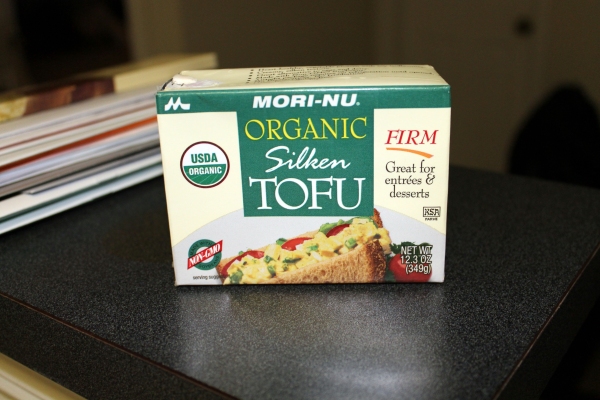
  •  1 package Mori-Nu silken tofu (you can find this on Amazon or at your local health food store)
  • 1 package/container neufchatel cheese or vegan cream cheese
  • Juice from one lemon or lime
  • 1/4 – 1/2 cup agave nectar/honey/maple syrup (or combination)
  • 1 teaspoon vanilla extract

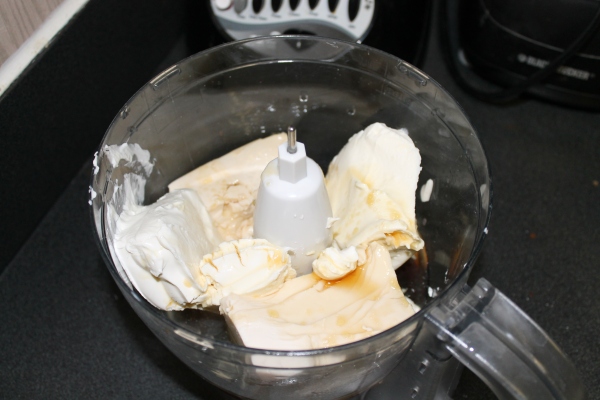
 Blend all ingredients in food processor until smooth, eat a large spoonful. 

Now it’s time to make magic.

Cheesecake Hot Chocolate

  • 2 cups unsweetened milk (I use unsweetened vanilla almond milk)
  • 1/2 cup cheesecake batter
  • 1/4 teaspoon vanilla
  • Dash of cinnamon
  • 3 tablespoons cocoa powder

Bring milk and cheesecake batter to a boil.

 Add in vanilla, cinnamon, and cocoa powder.  Keep at a boil, stirring constantly, until completely blended.

 Grab your cozy blanket, book (or Kindle), and enjoy this extra creamy chocolate delight.

 ~Elesha, a skinnyfat girl